Chasing First Light and Last Glow Along Lighthouse Coasts

Today we set out along the best lighthouse coastal walks for sunrise and sunset photography, chasing color where cliffs meet the sea. Expect tide-sculpted foregrounds, sweeping headlands, and lantern towers catching first light and last glow. Pack curiosity, layered clothing, and patience; the journey between viewpoints reveals as many images as the destinations themselves.

Scouting the Coast Before Dawn and Dusk

Great coastal images start long before the shutter clicks. Walk the path in your mind using maps, satellite views, and tide tables, then confirm everything on foot. Know where the sun rises and sets, how waves break, and which outcrops frame the lighthouse elegantly.

Maps, Sun Trackers, and Local Clues

Combine topographic maps with sun-tracking apps to preview angles, then call the visitor center or a keeper’s museum for gate hours and trail conditions. Local fishers often know slippery zones and rogue wave spots that save ankles and gear from disaster.

Timing Your Arrival

Arrive far earlier than feels comfortable, because darkness hides shortcuts and reveals hazards slowly. A calm pace preserves night vision, lets your ears map the surf, and gives time to adjust layers, spike the tripod, and breathe before color explodes.

Midday Test Walks

Scout at midday to mark compositions without pressure. Use sticks or mental notes to remember alignments, check muddy patches, and note where wind funnels through gaps. When golden light arrives, you will glide directly to safe, prepared positions with confidence.

Light, Weather, and Tide: Reading the Elements

Seaside light is a living character, sculpted by clouds, mist, and rippled water. Track high clouds for fiery pre-dawn color, lower cumulus for textured afterglow, and clean horizons for sunstars. Sync all of it with tide windows that reveal reflective sand and tidal pools.

Forecasting For Glow

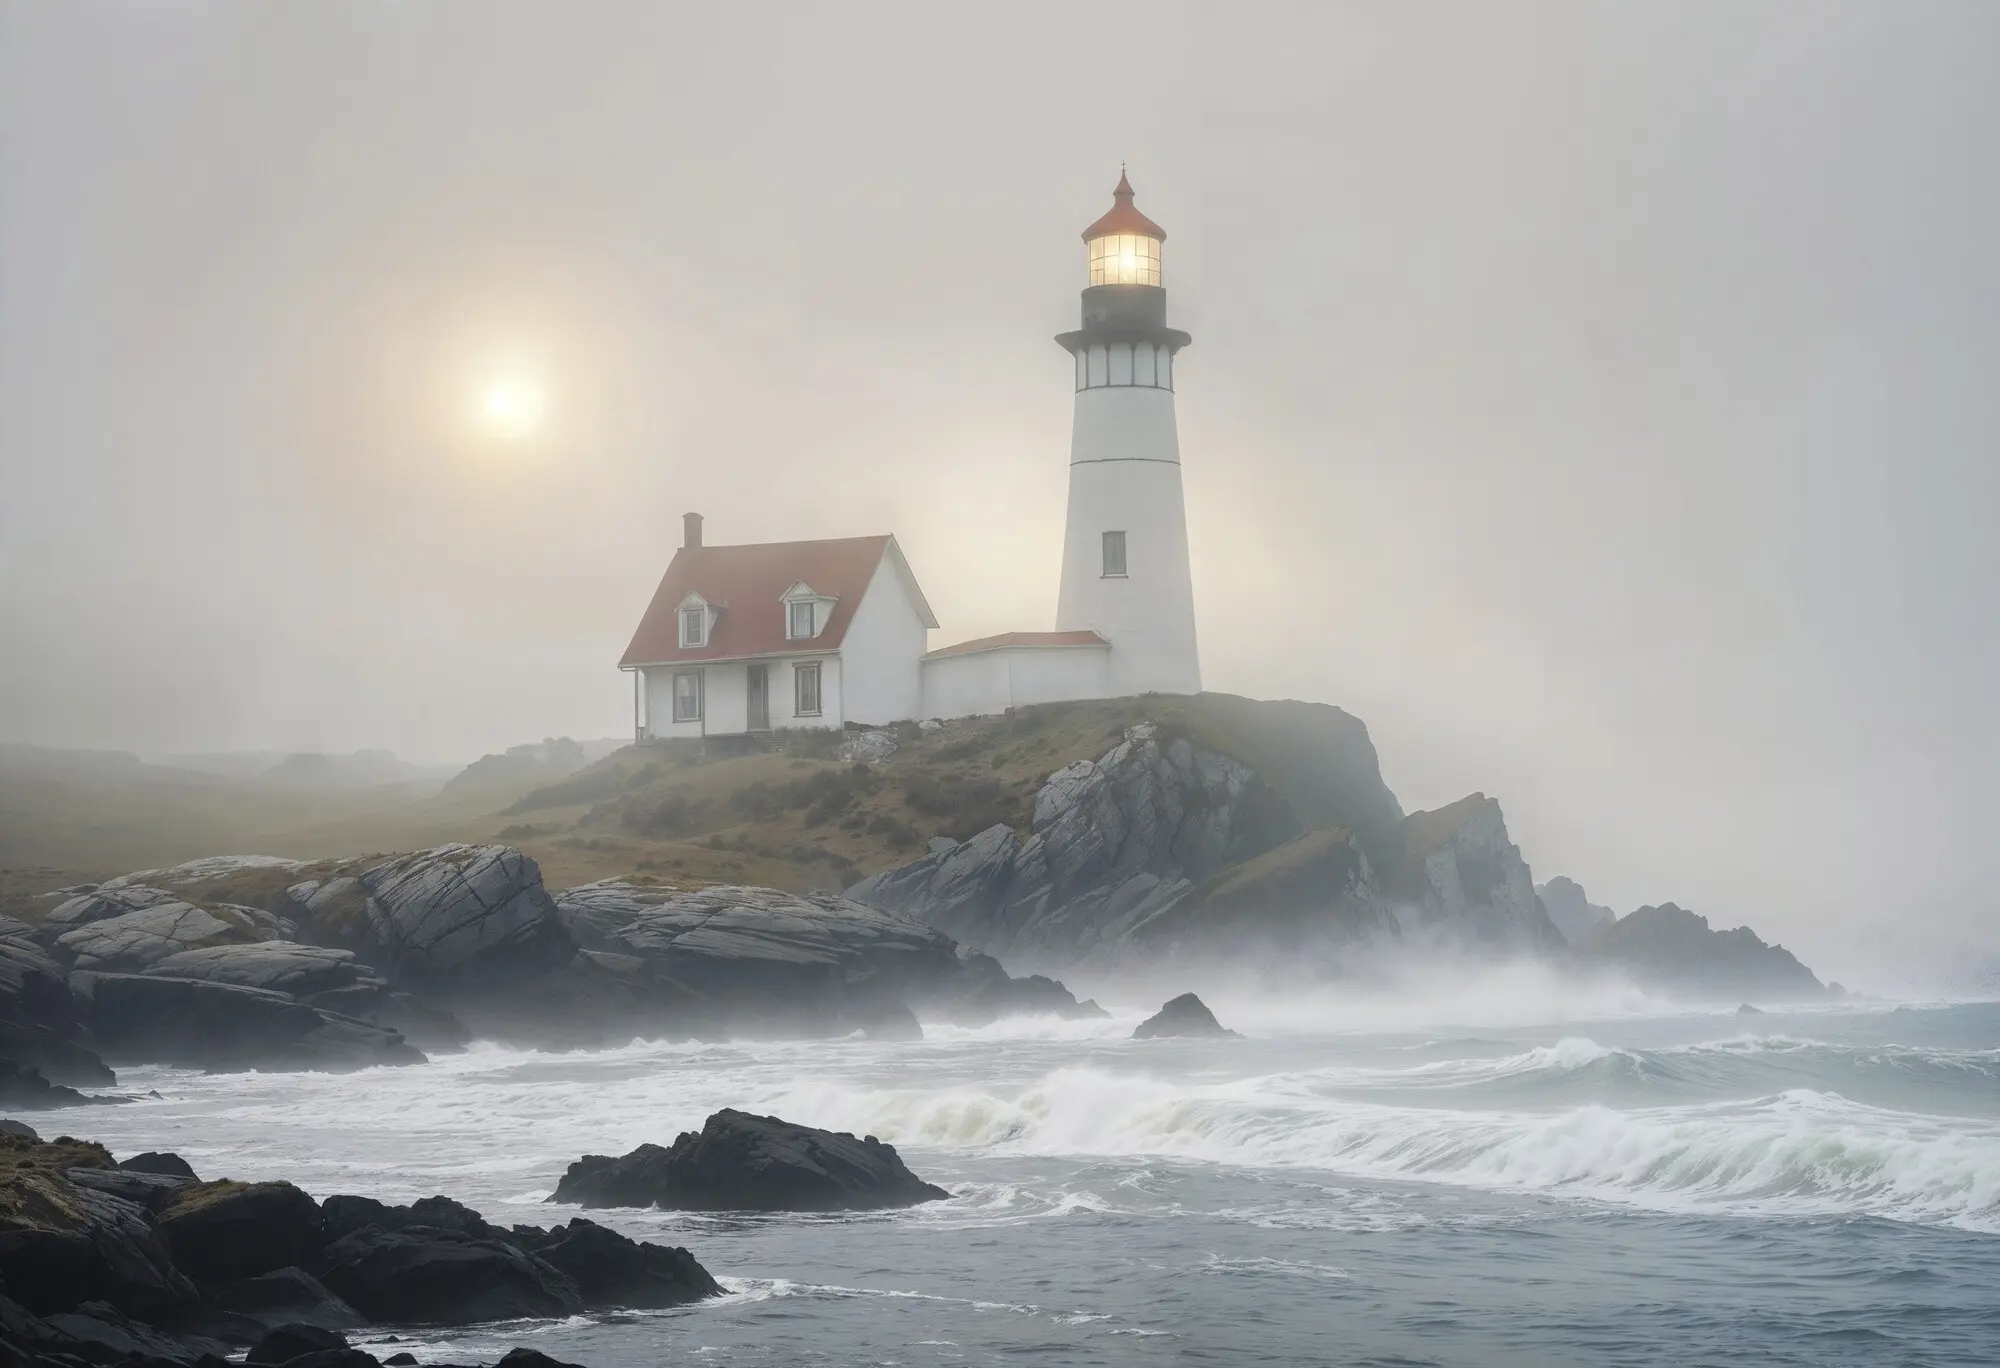
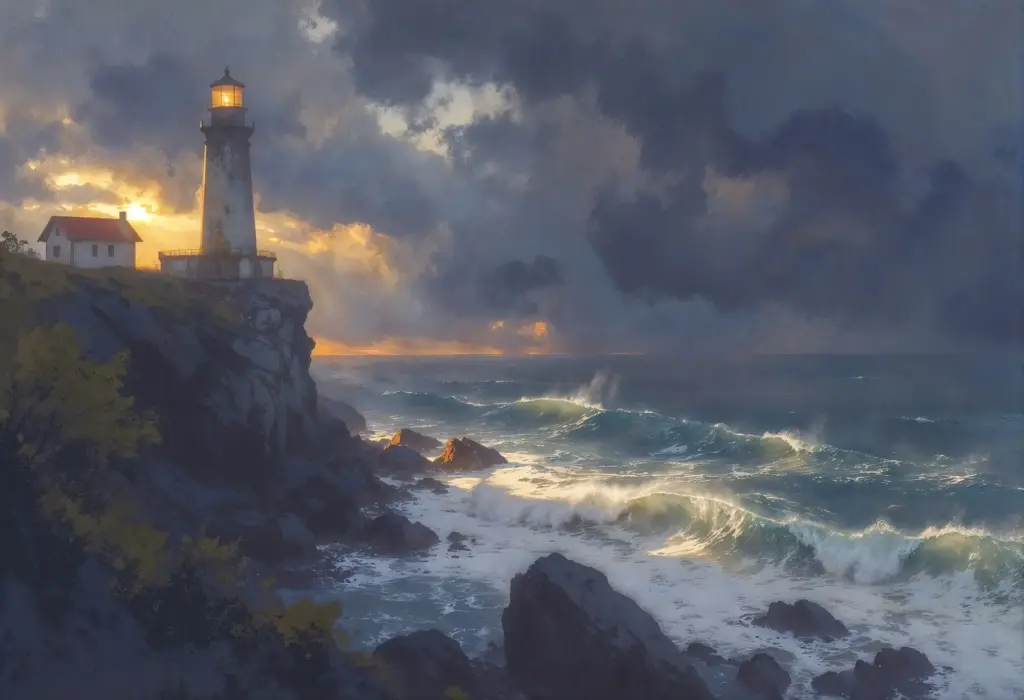
Study satellite loops and skew-T diagrams if you can, or at least detailed cloud cover percentages by altitude. A thin cirrus veil often diffuses pastel gradients, while broken decks ignite brilliant edges. Note humidity; haze can soften blues yet deepen cinematic mood.

Timing the Tide

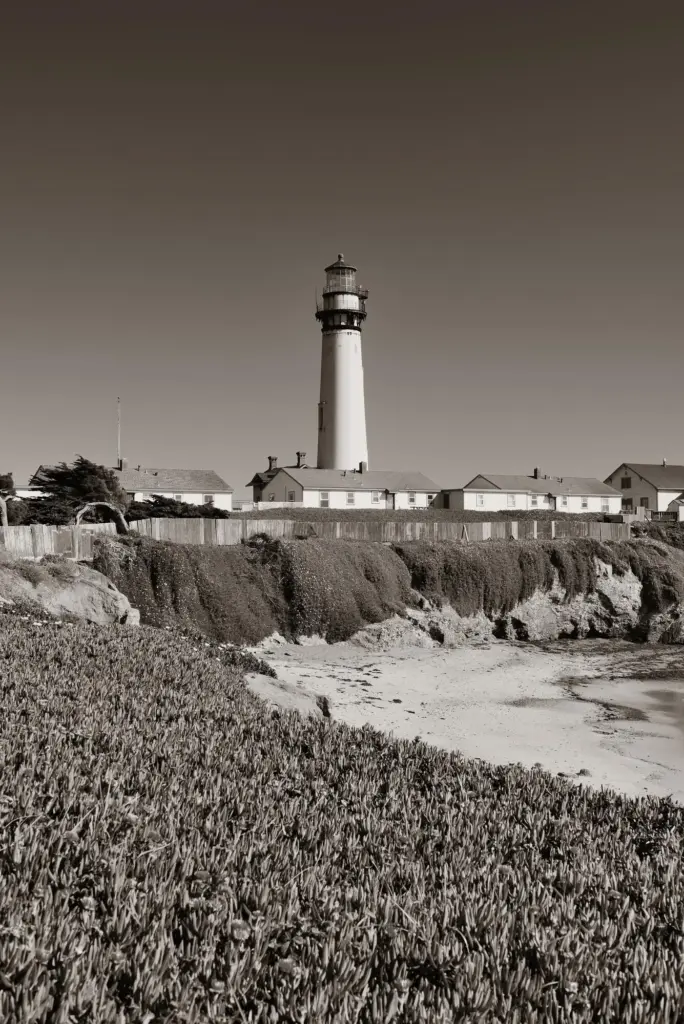
Low tide uncovers leading lines in ripples and seaweed, but mid-tide may deliver shimmering reflections that double the lighthouse elegantly. Track swell periods; longer intervals push surges deeper, timing your exposures between sets. Never forget escape routes when water climbs quickly.

Wind and Spray Management

Coastal wind steals warmth and shakes sensors. Shield the camera with your body, hang weight from the tripod, and wipe salt spray gently with clean microfiber. Lens hoods help, yet vigilance helps more; salt crystals bloom into flare faster than you expect.

Leading Lines That Breathe

Fence rails, stone steps, and foam streaks can all invite the eye toward lantern glass. Keep lines organic and breathing, avoiding stiff symmetry unless formality suits the story. A subtle S-curve echoes swells and footpaths, balancing structure with natural movement beautifully.

Sunstars and Silhouettes

Stop down to f/16 or f/22 for sunstars when the sun kisses the lantern room edge, but watch for sensor dust and diffraction. Silhouettes speak quietly; expose for color, let the tower go dark, and invite viewers to fill in maritime memories.

Foreground Stories

Tide pools mirror early light, barnacles texture rocks like constellations, and driftwood points like arrows toward the beacon. Kneel, get wet, and embrace reflection geometry. Foregrounds earn attention when they reveal place-specific details that could belong nowhere else on earth.

Safety, Access, and Respect for Fragile Shores

Wonder thrives when care leads. Lighthouses often sit near steep drops, nesting grounds, or crumbling walls, and storms rearrange paths overnight. Research access rules, heed signage, and keep a conservative buffer from edges. Photographs matter less than people, wildlife, and living shorelines.

Gear That Survives Salt, Wind, and Low Light

Lenses and Filters

From 14mm drama to 200mm compression, choose glass that translates coastal scale without distortion fatigue. Circular polarizers tame glare on wet rock, while graduated filters manage horizon contrast. Keep filter threads clean; salt grains scratch coatings heartbreakingly fast during hurried wipes.

Tripods and Stability

Select a sturdy tripod with twist locks that rinse easily, plus spiked feet for sand and kelp. Hang a bag for ballast, press gently from above, and shoot bursts at critical moments. Stability transforms color into clarity, especially when wind rises suddenly.

Protection and Care

Salt wants everything. Keep gear in a roll-top liner, swap lenses under a jacket, and rinse tripod legs after every session. Carry fresh water and a toothbrush for clamps. These rituals prevent corrosion, keeping you making coastal images for many winters.

Storytelling With Color, Time, and Community

After the walk, your files hold weather, footsteps, and tide in hidden layers. Gentle edits honor the place while guiding the eye. Share maps, conditions, and safety notes with your audience, inviting conversation that turns solitary miles into a friendly coastline.